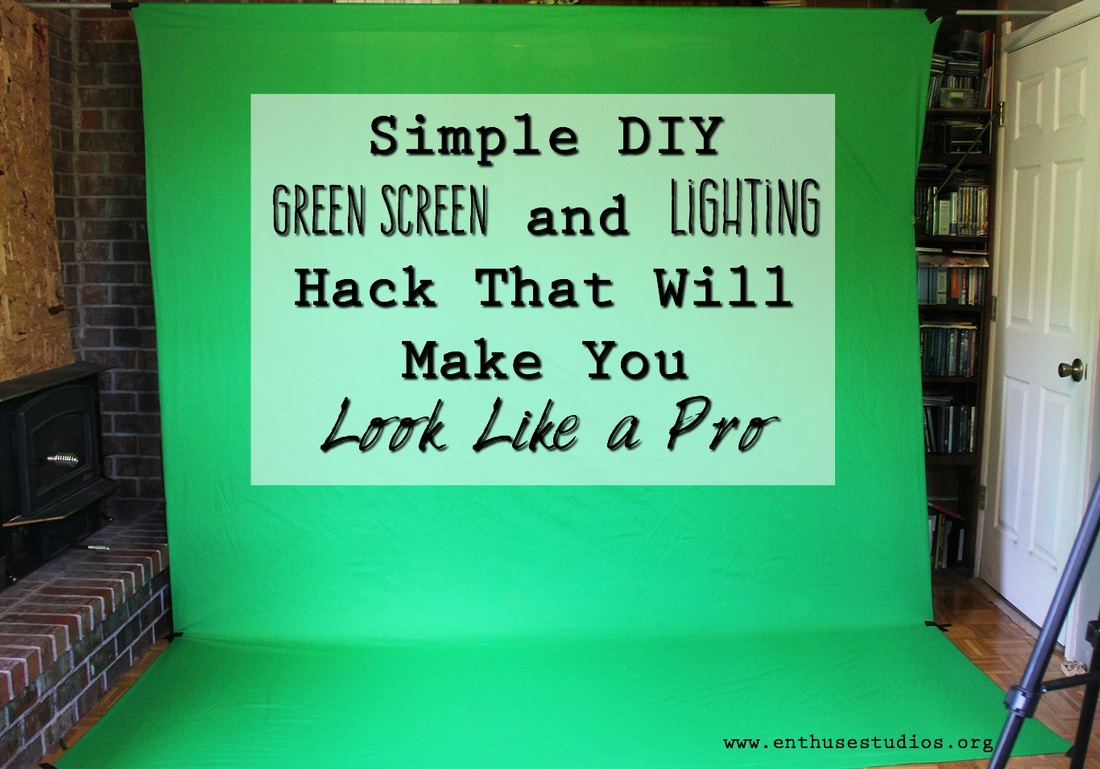
1. Easy to set up and take down 2. Very little alteration/damage to the walls (I rent) 3. Small to store (our home has very little storage space) 4. Economical (it's a business expense, but it's still an expense) 5. Professional quality. Just because I'm a one-man show doesn't mean production quality suffers. I opted for a simple DIY green screen and lighting hack that fit the bill and still looks professional. The materials After shopping around a bit, I bought this green screen online at Amazon. Of course you can also buy a backdrop stand, but because I was going for super frugal, inconspicuous, and multipurpose, I decided to use conduit to make a DIY telescoping pole like a curtain rod. I used two 10' metal conduit tubing pieces from Lowe's for the rod. One is a slightly smaller diameter than the other (1/2 inch and 3/4 inch) to fit inside for telescoping action. That way I can extend the bar to fit a wider area if need be. As a bonus, this pole can be used for other areas and has also worked well to hang curtains and other backgrounds for video backdrops. Screen set-up The screen can be mounted in various ways. At first I used a couple of metal ceiling hooks with a short string holding up the pipes. This is simple, inexpensive, and works quite well. However, if you need to move your backdrop elsewhere you'll have to drill new holes in the ceiling or wall. Currently the poles are just sitting on the top of a doorframe on one side and a board I measured to be the same height on the other. It's not pretty, but it works great. To prepare the screen, you will first need to iron it to get out major folds and wrinkles. Once it's up, pull it tight with clamps or gaff tape to ensure a seamless, even background. Lighting Set-up
Use a room with plenty of depth for your green screen set. The farther away from the screen you can shoot the better your key will be. There are some simple lighting tips that can make a big difference in the final video. For professional quality, the set should be lit:
Keep in mind what your final video is going to look like It helps to know what the final product is going to look like, so you can light your talent accordingly. For example, if you plan on having your final shot outdoors use a warmer light (5600K is daylight color temperature) on your talent. Also match the direction of the light on set with the lighting direction in your final image or video to ensure that the shadows match. The end result A believable video requiring less post-production work and portraying a more professional image. Have you set up a DIY green screen set in your studio or home office? What other tips do you have?
0 Comments
Leave a Reply. |